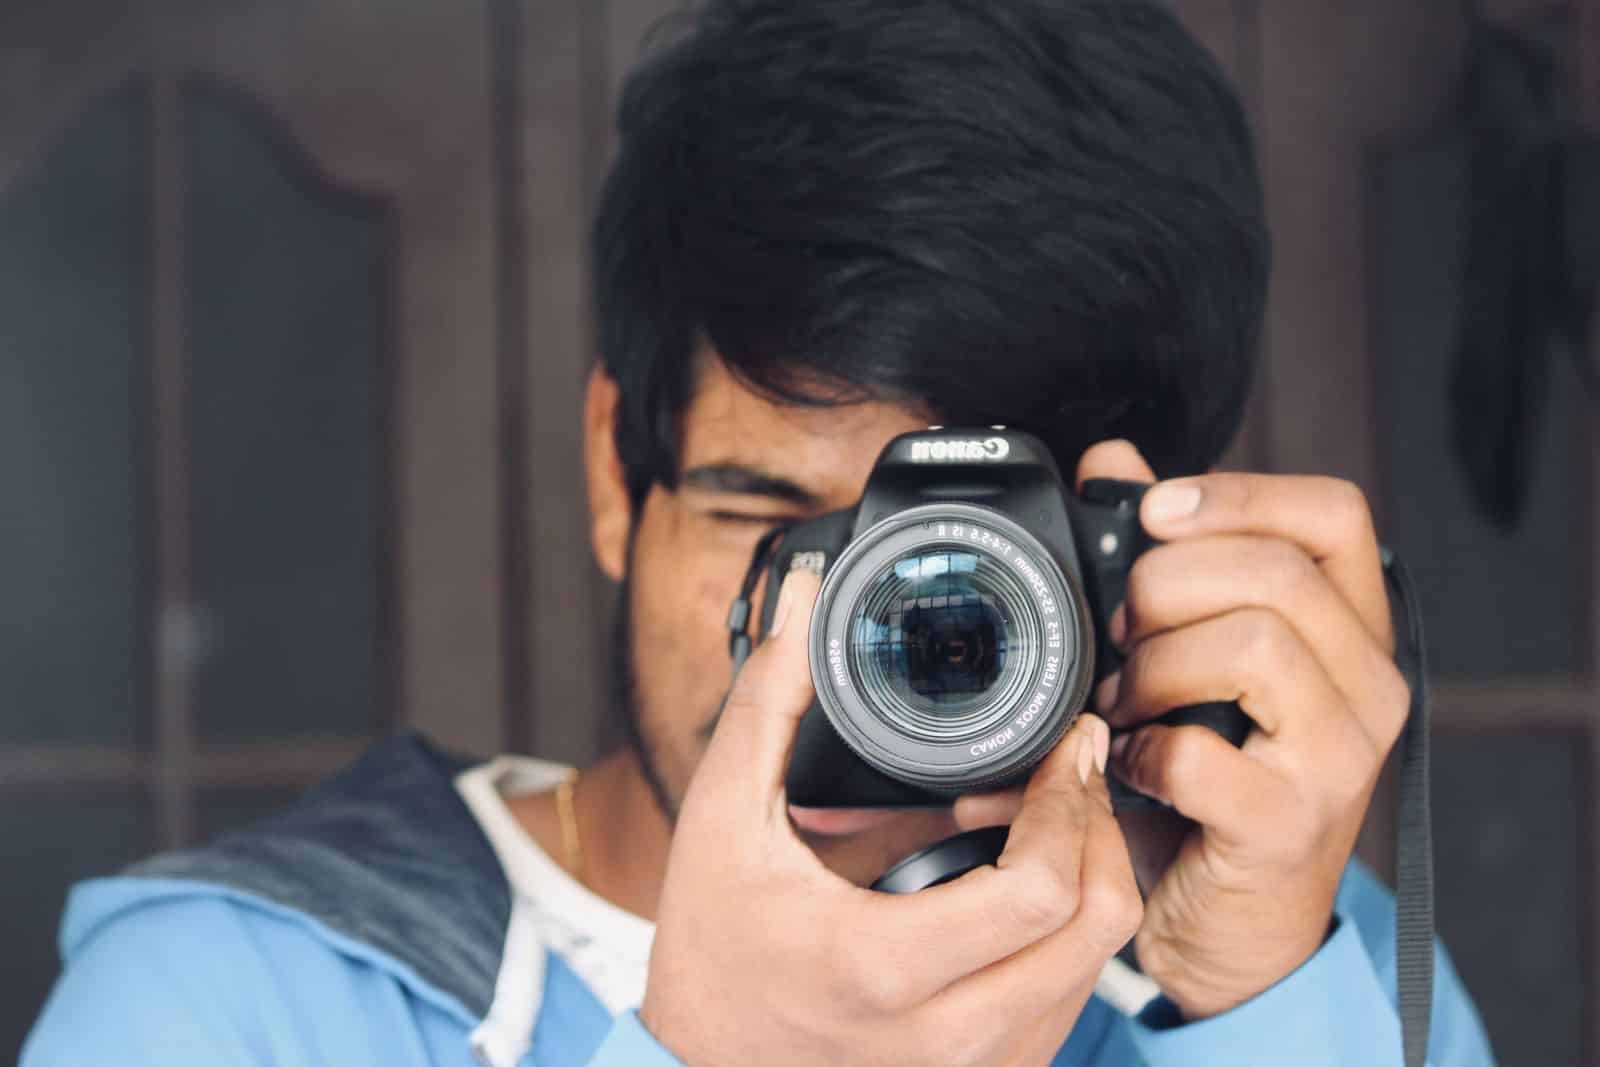
Phone cameras are remarkable. They’re always with you, they handle most lighting automatically, and their photos look great on a screen. So why would anyone carry a separate camera? Because learning to use a real camera teaches you to see and make decisions in a way a phone mostly does for you, and the results, especially in tricky light or with moving subjects, can be noticeably better.
This guide explains what a dedicated camera does differently, the basics you need to learn, how to choose a first camera without overspending, and how to build the habit.

What a real camera does that a phone doesn’t
Modern phones rely heavily on computational photography: software that merges several frames, brightens shadows and sharpens detail. A dedicated camera relies more on physics. The main differences:
- Larger sensor: a bigger sensor gathers more light, which means cleaner images in low light and more natural background blur.
- Interchangeable lenses: you can choose a wide lens for landscapes, a fast prime for portraits or a telephoto for wildlife and sports.
- Real controls: dials and buttons let you change settings quickly without menus.
- Better handling: a proper grip and viewfinder make it easier to hold steady and compose carefully.
- Speed: fast autofocus and burst shooting make it easier to catch moving subjects.
None of this makes a phone useless. Many good photographers use both: the phone for quick snapshots, the camera when they want to slow down and get it right.
Why it’s worth learning, beyond better pictures
Photography with a real camera is a skill, and like most skills it rewards practice. You start noticing light: how it changes through the day, where it falls on a face, how shadows shape a scene. You learn to compose deliberately instead of pointing and hoping.
It also changes how you experience places. When you’re looking for a photo, you look more carefully. A walk through a familiar neighborhood or a trip abroad becomes something you observe rather than pass through. Like woodworking or learning to sail, it’s a hobby that gives you a craft to get better at for years.
The three settings that matter most
Every exposure comes down to three settings, often called the exposure triangle. Learn these and you understand most of what your camera is doing.
| Setting | What it controls | Creative effect |
|---|---|---|
| Aperture (f-number) | How wide the lens opening is | Lower numbers like f/1.8 blur the background; higher numbers like f/8 keep more in focus. |
| Shutter speed | How long the sensor is exposed | Fast speeds freeze motion; slow speeds blur it and need a steady hand or tripod. |
| ISO | How much the signal is amplified | Higher ISO helps in low light but adds noise (grain). |
Changing one setting means balancing the others. If you open the aperture to blur a background, you let in more light, so you can use a faster shutter or lower ISO. Practicing that balance is the core of learning.
Start in a semi-automatic mode
You don’t need to jump straight to full manual. Aperture priority (A or Av on the dial) lets you choose the aperture while the camera sets the shutter speed. Shutter priority (S or Tv) does the reverse. Both are practical ways to learn while still getting usable photos.
Shoot RAW when you’re ready
Most cameras can save RAW files, which hold more information than JPEGs and give you more room to adjust exposure and color later. They take more space and need editing software, so many beginners start with JPEG and move to RAW once they enjoy editing.
Choosing your first camera
The most common mistake is spending too much on the body and too little time learning. A modest camera you carry often will teach you more than an expensive one left in a drawer.
Mirrorless or DSLR?
Most major manufacturers, including Canon, Nikon, Sony, Fujifilm, Panasonic and OM System, now focus on mirrorless cameras. They’re generally smaller and show the exposure in the viewfinder before you shoot. DSLRs are still capable and often inexpensive used, but new lens development has largely moved to mirrorless systems.
Sensor size
Common sizes are full frame, APS-C and Micro Four Thirds. Full frame offers the best low-light performance but larger, pricier lenses. APS-C and Micro Four Thirds systems are smaller and more affordable, and are more than enough for most people.
Think about lenses first
You’re buying into a lens system, and lenses often outlast camera bodies. A fast prime lens, such as a 35mm or 50mm equivalent with a wide aperture, is an inexpensive way to learn composition and get background blur.
Consider buying used
Cameras and lenses are well suited to the used market. Reputable camera retailers often sell inspected used gear with a short warranty. Check for scratches on the lens glass, ask about the shutter count on bodies, and test autofocus before buying.
How to build the habit
- Carry it. A camera in a bag is better than a better camera at home.
- Give yourself assignments. One week shoot only with one lens; the next, only in black and white, or only at golden hour.
- Review your photos. Look at what worked and what didn’t, and check the settings you used.
- Edit lightly. Basic adjustments to exposure, crop and color go a long way.
- Print a few. Choosing which photos deserve a print sharpens your eye more than scrolling through hundreds.
If you travel, a compact camera and one lens pair well with a one-bag travel capsule. The best travel camera is the one light enough that you actually bring it.
Common beginner mistakes
- Buying too much gear too soon. Extra lenses and accessories won’t fix composition. Learn one setup first.
- Leaving everything on auto. Auto works, but you won’t learn why a photo looks the way it does.
- Ignoring the light. The same scene can look flat at noon and beautiful an hour before sunset. Plan around good light when you can.
- Shooting everything from eye level. Crouching down, stepping closer or changing angle often turns an ordinary photo into a good one.
- Never deleting anything. Being selective is part of the craft. Keep your best shots and let the rest go.

Quick-start checklist
- Learn aperture, shutter speed and ISO.
- Practice in aperture priority mode.
- Pick a camera system based on lenses, not just the body.
- Get one fast prime lens.
- Consider reputable used gear.
- Shoot regularly and review your results.
FAQ
Is a phone good enough for most people?
For everyday snapshots, yes. A dedicated camera is worth it if you want more control, better results in low light or with moving subjects, or simply want photography as a skill to develop.
Do I need to learn manual mode?
Not right away. Aperture priority and shutter priority teach the same concepts with less frustration. Many experienced photographers use them most of the time.
What’s the best lens for a beginner?
A fast prime in the 35mm to 50mm equivalent range is a popular choice. It’s usually affordable, sharp and good in low light, and the fixed focal length makes you think about composition.
Updated October 2026. Some links on this site may be affiliate links; see our editorial policy.