Woodworking rewards the same habits that make anything go well: patience, measuring twice, and finishing what you start. It’s also one of the few hobbies where, after a few weekends, you have something solid to show for your time, whether that’s a cutting board, a bookshelf or a simple bench.
You don’t need a garage full of machines to begin. This guide covers how to start small, which tools are worth buying first, simple projects that build real skill, safety basics, and how to make the hobby a steady weekend habit rather than a one-time burst of enthusiasm.
Why woodworking works as a weekend discipline
Most of the week is spent on work you can’t hold in your hands. Woodworking is the opposite: every mistake and every improvement is visible. A gap in a joint tells you exactly where you rushed. That direct feedback is what makes it such a good discipline.
It also teaches you to appreciate how things are made. Once you’ve tried to cut a clean joint by hand, you look at furniture differently. You start checking how drawers are built, whether a table is solid wood or veneer, and how the parts are fastened together.
From experience: Over the years my own taste has become simpler and less about brands, and more about material, workmanship and how something feels. I’ve had teak furniture made in Bali, and that experience is part of why I value furniture that’s made to last rather than assembled to look the part.

Hand tools or power tools?
Both are legitimate, and most woodworkers end up using a mix. The right starting point depends on your space, budget and what you want to make.
| Hand tools | Power tools | |
|---|---|---|
| Space needed | A sturdy bench in a corner | More room, plus dust control |
| Noise and dust | Low; apartment-friendly | High; neighbors may notice |
| Learning curve | Slower at first; sharpening is a skill | Faster results, but setup matters |
| Main risk | Cuts from sharp edges | Serious injury if used carelessly |
| Best for | Joinery, small projects, quiet practice | Breaking down large boards, repetitive cuts |
A practical approach is to learn the basics with hand tools and add power tools when you know which jobs you actually find slow.
A sensible starter tool kit
Buy fewer, better tools and add to them as projects require. Well-known makers sell reliable versions of all of these.
- A combination square for marking and checking right angles.
- A tape measure and a marking knife or sharp pencil.
- A crosscut handsaw or Japanese pull saw. Pull saws cut on the pull stroke and are easier for many beginners to control.
- Two or three bench chisels in common widths.
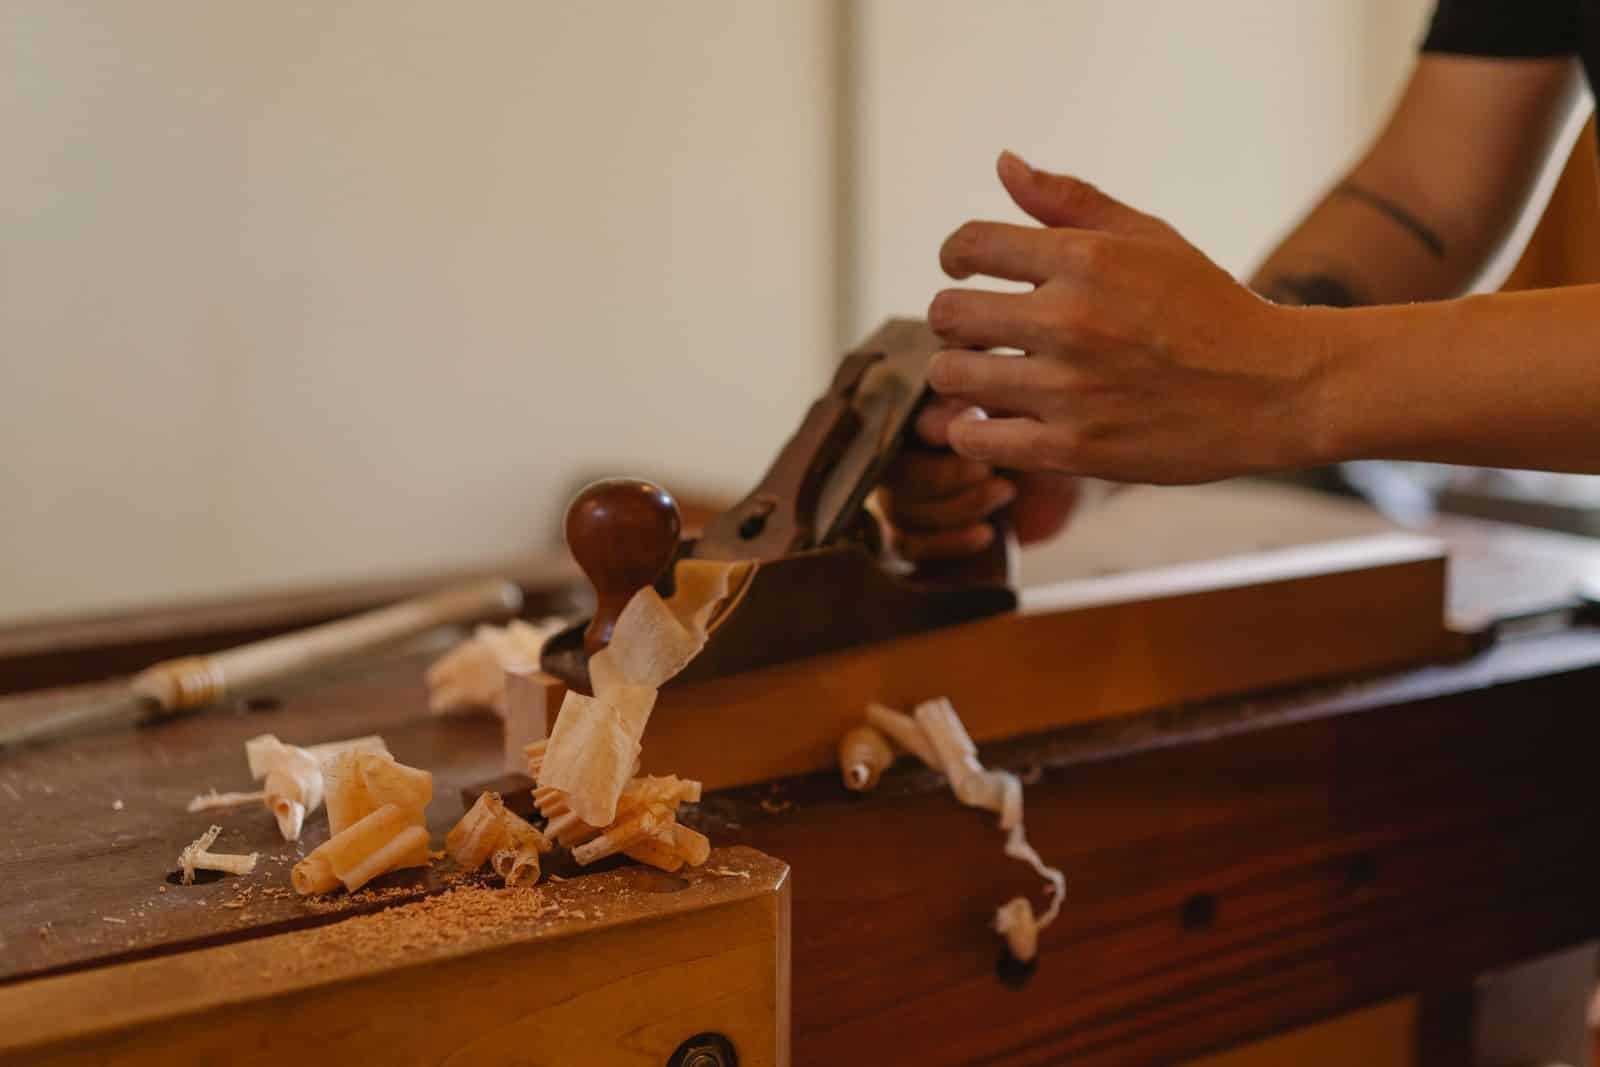
- A block plane for trimming edges and chamfers.
- Clamps. You’ll want more than you think; start with four.
- Sharpening stones or plates and a honing guide.
- Sandpaper in a few grits and a sanding block.
- A cordless drill/driver, probably the first power tool most people buy.
If you’re going to buy one thing carefully, make it the sharpening setup. A sharp tool cuts cleanly and is safer, because you don’t have to force it. The same principle applies in the kitchen, as we cover in our guide to the chef’s knife you buy once and sharpen forever.
Choosing wood for your first projects
Start with wood that’s easy to work and forgiving of mistakes.
- Pine and other softwoods are inexpensive and easy to cut, though they dent easily. Good for practice and shop projects.
- Poplar is a soft hardwood that machines and paints well.
- Maple, cherry, oak and walnut are classic furniture hardwoods. They’re harder to work but much more durable, and they look better with age.
Look for boards that are straight and flat, without large knots, cracks or twisting. Sight down the edge of each board before buying it. If you’re curious why solid wood holds up better than particleboard, see our case for real wood furniture.
Projects that build real skill
Pick projects that teach one or two new techniques each time.
- A cutting board. Teaches measuring, gluing up boards, flattening and applying a food-safe finish.
- A simple box. Teaches square cuts and basic joinery, such as rabbets or butt joints reinforced with glue and pins.
- A small bookshelf or wall shelf. Teaches dadoes (grooves for shelves) and how to keep a carcass square.
- A step stool or small bench. Teaches joints that have to carry weight, like mortise and tenon.
- A side table. Brings it all together: legs, aprons, a top that’s allowed to move with the seasons.
Finish every project, even when it isn’t perfect. Finished imperfect pieces teach more than abandoned ambitious ones.
Safety basics
- Wear eye protection whenever you cut, drill or sand, and hearing protection with power tools.
- Control dust with a shop vacuum and a mask or respirator rated for fine dust, especially when sanding.
- Keep both hands behind the cutting edge of chisels and knives, and clamp work instead of holding it.
- Read the manual before using any power tool, and learn proper technique for table saws and routers from a class or experienced woodworker before using them.
- Never work tired or after drinking.
- Store oily finishing rags according to the product’s instructions; some can heat up and catch fire when bunched up.
Making it a weekend habit
- Set a regular slot. Two or three hours on Saturday morning beats a whole weekend once a season.
- Keep a small project list so you never waste shop time deciding what to do.
- Clean up at the end of each session. Starting next time with a clear bench makes it easier to begin.
- Take a class. Community colleges, maker spaces and woodworking stores often run beginner courses, and many maker spaces rent bench time with access to larger machines.
- Keep a notebook of measurements, finishes used and what you’d do differently.
Key takeaways
- Start small with a few quality hand tools and a good sharpening setup.
- Practice on easy woods, then move to hardwoods.
- Choose projects that each teach a new skill, and finish them.
- Treat safety gear and dust control as part of the kit, not extras.
- A regular, short weekly session builds skill faster than occasional marathons.
For more on recognizing good construction in what you buy, read how to judge quality before you buy anything.
FAQ
How much space do I need to start woodworking?
With hand tools, a sturdy bench and storage for a few tools are enough, which can fit in a corner of a garage, basement or spare room. Power tools need more room and better dust control.
Should I buy a table saw first?
Usually not. A table saw is powerful and useful, but it’s also the tool most associated with serious injuries. Learn the basics first, and get proper instruction before using one.
What finish should I use on a cutting board?
Use a finish labeled food-safe, such as food-grade mineral oil or a board butter made with mineral oil and wax. Reapply when the wood looks dry.
Is woodworking an expensive hobby?
It can be, but it doesn’t have to be. A modest set of hand tools and inexpensive wood is enough for months of projects. Maker spaces are a good way to try bigger machines before buying them.
Updated October 2026. Some links on this site may be affiliate links; see our editorial policy.