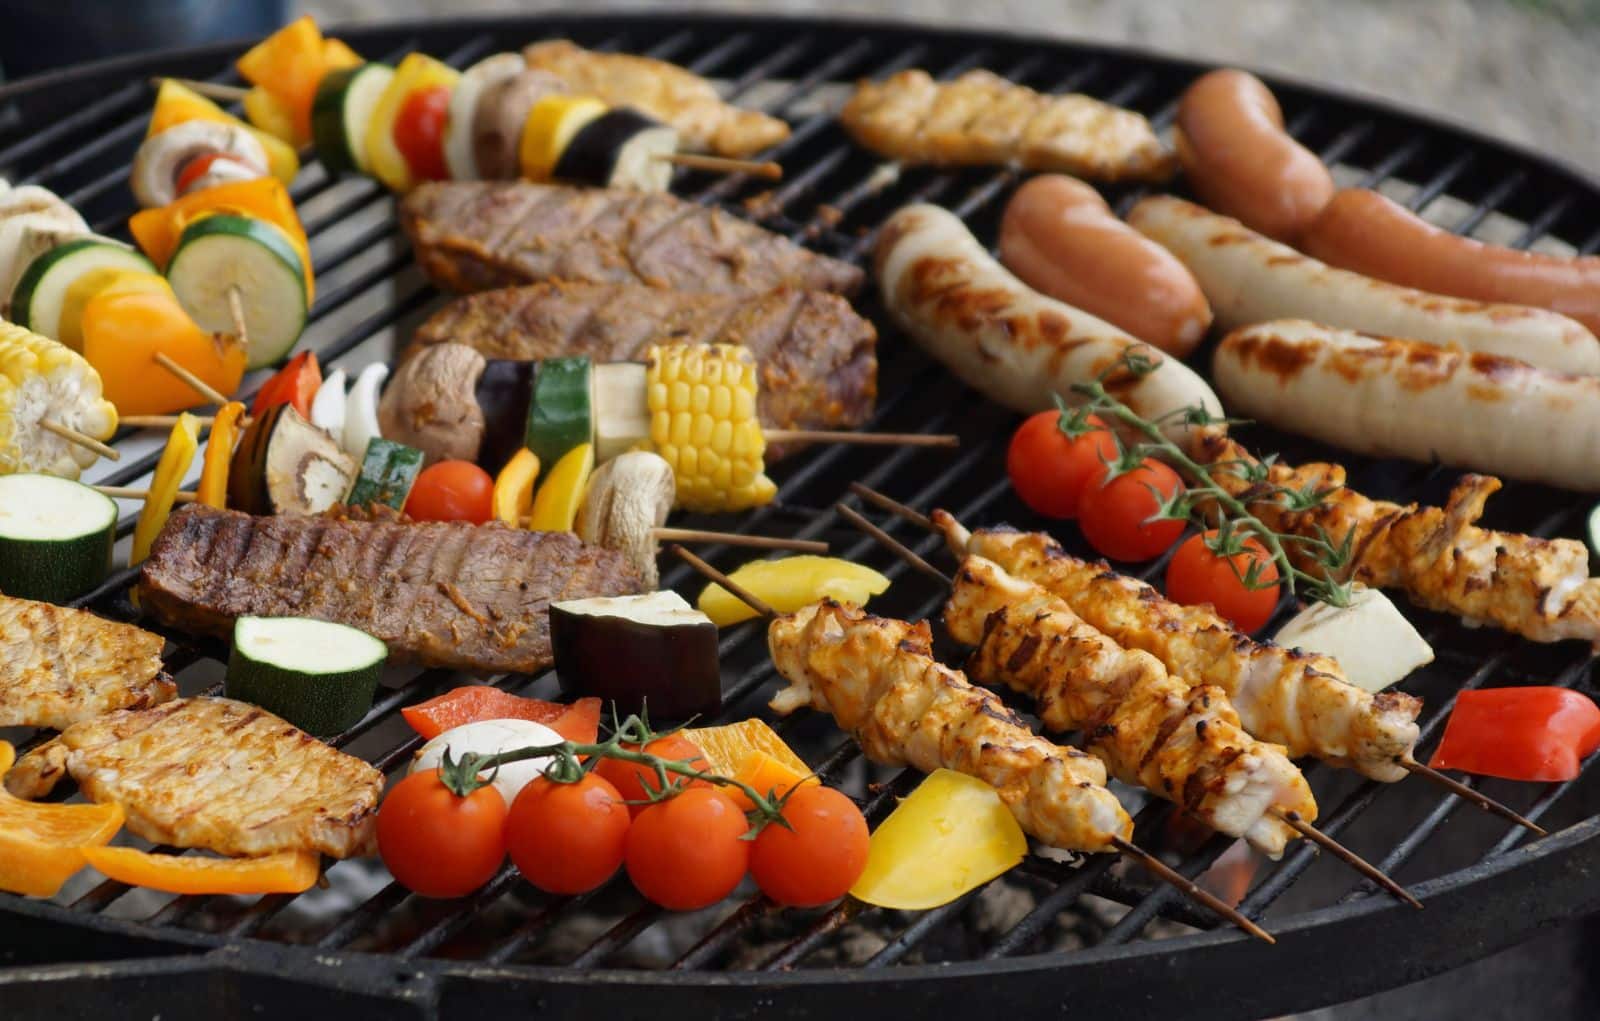
Cooking over fire is one of the most satisfying practical skills a man can learn. It’s also easier than it looks once you understand a few principles: how to build and control a fire, the difference between direct and indirect heat, and how to tell when food is actually done. Get those right and you can cook a great steak on a weeknight or smoke a pork shoulder on a Saturday.
This guide covers the core techniques for grilling, smoking and open-fire cooking, the gear that matters, food safety, and a simple progression from your first burger to your first long smoke.
Grilling, smoking and live-fire cooking: what’s the difference?
| Grilling | Smoking | Open-fire cooking | |
|---|---|---|---|
| Heat | High, direct | Low and steady | Varies; you manage it constantly |
| Typical time | Minutes | Hours | Minutes to hours |
| Best for | Steaks, burgers, chops, vegetables | Brisket, pork shoulder, ribs, whole birds | Campfire cooking, cast iron, skewers |
| Main skill | Searing and timing | Temperature control and patience | Reading the fire and moving food around |
| Common gear | Charcoal or gas grill | Smoker, or a kettle grill set up for indirect heat | Fire pit or grate, cast iron, long tools |
You don’t need separate equipment to start. A standard charcoal kettle grill can grill, roast and smoke once you learn to set it up for different heat zones.

The one technique that changes everything: two-zone fire
Most grilling problems, such as burnt outsides with raw centers and flare-ups, come from cooking everything over full heat. The fix is a two-zone fire.
- On a charcoal grill: bank all the lit coals on one side and leave the other side empty.
- On a gas grill: turn one or two burners to high and leave the others off or low.
Now you have a hot zone for searing and a cooler zone where food can finish cooking gently with the lid closed. Thick steaks, chicken pieces and sausages all benefit. If something flares up, move it to the cool side until the flames die down.
Lighting charcoal properly
- Use a chimney starter: fill it with charcoal, put a sheet or two of newspaper or a natural fire starter underneath, and light it. The coals are ready when the top layer is covered in gray ash, usually 15 to 20 minutes.
- Skip lighter fluid if you can. It’s unnecessary with a chimney and can leave an off taste if the coals aren’t fully lit.
- Lump charcoal lights fast and burns hot. Briquettes burn more evenly and longer, which helps for longer cooks.
- Control temperature with the vents: more air means a hotter fire, less air means a cooler one. Keep the bottom vent from closing completely unless you want to put the fire out.
Grilling basics
- Preheat with the lid closed for 10 to 15 minutes, then clean the grates with a grill brush or scraper.
- Pat meat dry and season it. Dry surfaces brown better.
- Leave it alone. Let food sear before you try to move it; it releases from the grates when a crust has formed.
- Use the lid. Closing it turns the grill into an oven and cooks thicker cuts more evenly.
- Rest the meat for a few minutes after cooking so juices settle before slicing.
Smoking basics
Smoking cooks food slowly at low temperature, commonly in the 225 to 275°F range, with wood smoke for flavor.
Choosing wood
- Hickory and oak give a classic, fairly strong smoke flavor that suits pork and beef.
- Apple and cherry are milder and slightly sweet, good with poultry and pork.
- Mesquite is very strong; use a little.
- Never use treated, painted or unknown scrap wood. Avoid resinous softwoods like pine.
Wood chunks work well on charcoal; chips burn faster and suit shorter cooks or gas grills with a smoker box.
Managing the cook
- Aim for thin, clean, bluish smoke. Thick white billowing smoke usually means the fire is smoldering and will make food taste bitter.
- Open the lid as little as possible; every peek lets heat out.
- Expect a stall on large cuts like brisket and pork shoulder, when the internal temperature stops rising for a while. It’s normal. Be patient, or wrap the meat in foil or butcher paper to push through it.
- Cook to internal temperature and tenderness, not to the clock.
Cooking over an open fire
Campfires and fire pits are less predictable, so the skill is managing heat by distance.
- Let the fire burn down to glowing coals before cooking; flames char food without cooking it through.
- Cast iron is the most forgiving cookware here. See our guide to cast iron cookware that gets better with age.
- Raise or lower the grate, or move food between hotter and cooler areas, instead of trying to change the fire itself.
- Follow local fire rules, keep water or a shovel and dirt nearby, and make sure the fire is fully out before you leave.
Food safety: the numbers that matter
A good instant-read thermometer is the most useful tool you can own. These are the USDA’s recommended minimum internal temperatures:
- Beef, pork, lamb and veal steaks, chops and roasts: 145°F, then rest for at least 3 minutes.
- Ground meats: 160°F.
- Poultry, including ground poultry: 165°F.
- Fish: 145°F.
Note that cuts like brisket and pork shoulder are safe at much lower temperatures than they’re usually cooked to; they’re taken higher, often around 195 to 205°F, so the connective tissue breaks down and they become tender.
Also keep raw and cooked food separate: use a clean plate and tongs for cooked meat, not the ones that carried it out raw.
The gear that’s actually worth it
- A charcoal kettle grill or a gas grill with at least two burners.
- A chimney starter (for charcoal).
- An instant-read digital thermometer; a leave-in probe thermometer for long smokes.
- Long tongs and a sturdy spatula.
- Heat-resistant gloves.
- A grill brush or scraper.
For a deeper look at choosing equipment that lasts, see how to grill like you mean it.
Hosting a cookout
The food is only half of it. Plan dishes that can be prepped ahead, light the fire earlier than you think you need to, and give guests something to drink while they wait.
From experience: A SodaStream and a few handcrafted tonics and syrups turn any gathering into a cocktail hour. It makes it easy to offer good drinks, with or without alcohol, without stocking a full bar.
If you’d like to build out the drinks side, our essential cocktail kit covers the basics.
A simple learning progression
- Burgers and sausages over direct heat.
- Chicken thighs using a two-zone fire.
- A thick steak: sear on the hot side, finish on the cool side.
- A whole chicken or pork tenderloin with indirect heat and the lid closed.
- Ribs, smoked low and slow.
- A pork shoulder, the most forgiving long smoke.
Quick checklist before you cook
- Fuel and fire starter on hand.
- Thermometer working.
- Two-zone fire set up.
- Clean plate and tongs for cooked food.
- Water or extinguisher nearby.
FAQ
Charcoal or gas: which is better for a beginner?
Gas is quicker and easier to control, so it’s convenient for weeknights. Charcoal gives more flavor and makes smoking easier, but takes more practice. Either can produce excellent food.
Do I need a dedicated smoker?
No. A charcoal kettle grill set up for indirect heat with a few wood chunks can smoke ribs, chicken and pork shoulder well. A dedicated smoker makes long cooks easier to manage.
How do I know when a steak is done without cutting it?
Use an instant-read thermometer in the thickest part. Remember that the temperature rises a few degrees while it rests, so pull it slightly before your target.
Why is my smoked meat bitter?
Usually from thick, dirty smoke caused by a smoldering fire or too much wood. Keep the fire burning cleanly with enough airflow and add wood in moderation.
Updated October 2026. Some links on this site may be affiliate links; see our editorial policy.