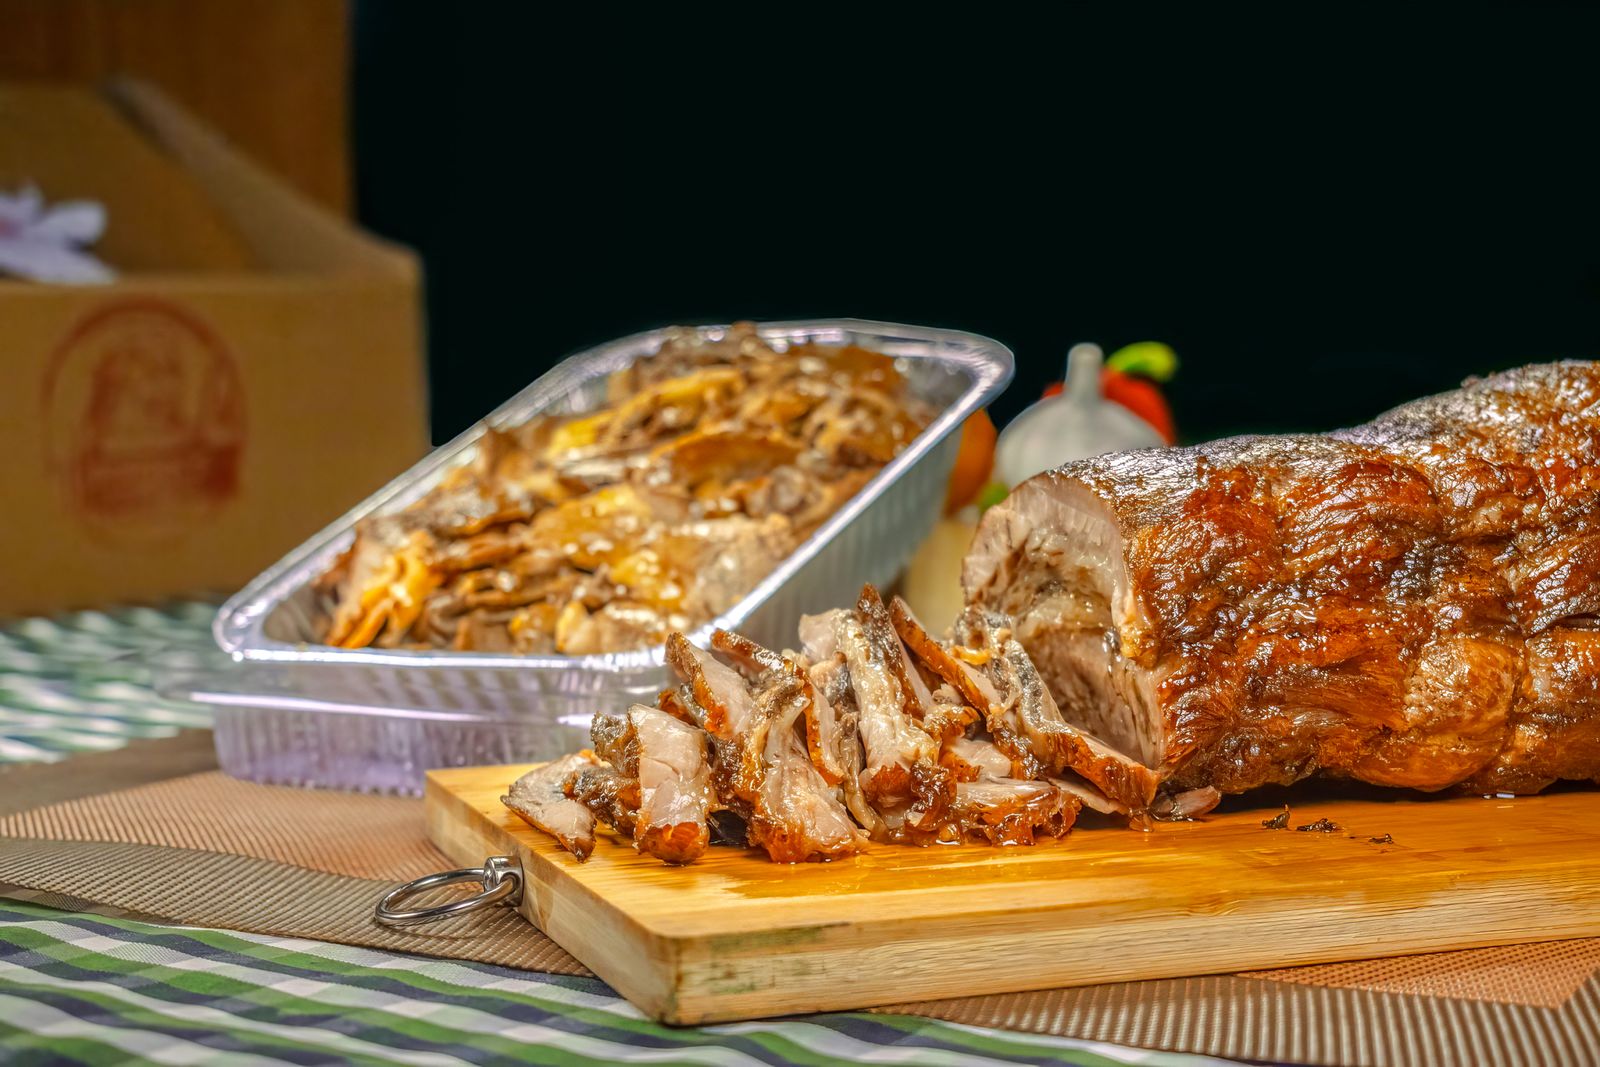
Carving a roast well comes down to four things: a sharp knife, a proper rest, cutting across the grain, and knowing where the bones are before you start. None of it is difficult. Most carving disasters, from shredded slices to a puddle of juice on the tablecloth, happen because one of those steps was skipped.
This guide covers the tools, resting times, the basic technique, how to handle the most common roasts, and how to get slices to the table while they’re still warm.
The tools you actually need
- A long, sharp knife. A dedicated carving or slicing knife (long and narrow, often 8 to 12 inches) is ideal, but a well-sharpened chef’s knife handles most roasts. Sharpness matters more than shape. Hone it before you start. If you’re shopping, our guide to the chef’s knife you should buy once and sharpen forever covers what to look for.
- A carving fork or a large, sturdy fork to steady the meat. Use it to hold, not to pierce repeatedly.
- A large cutting board with a juice groove, set on a damp towel so it doesn’t slide.
- An instant-read thermometer to know when the roast is done, so you’re not cutting into it to check.
- A warm platter and some foil.
Rest the roast before you cut
Cutting straight out of the oven releases more juice onto the board and gives you less control. Resting lets the meat firm up slightly and makes clean slices much easier.
Move the roast to the board, cover it loosely with foil, and leave it alone. The internal temperature keeps rising for a while after it leaves the oven, often by several degrees in a large roast, so many cooks take it out a little before their target.
| Roast | Typical rest |
|---|---|
| Whole chicken | 10–15 minutes |
| Pork loin, beef tenderloin | 10–15 minutes |
| Leg of lamb, beef rib roast | 15–30 minutes |
| Whole turkey | 20–40 minutes |
For safety, use the USDA’s minimum internal temperatures as your floor: 145°F for whole cuts of beef, pork, veal and lamb, followed by a rest of at least three minutes, and 165°F for poultry, measured in the thickest part. Many people prefer beef and lamb cooked to that point or beyond; that’s a matter of taste above the minimum.
From experience: The rest is a good moment to look after your guests rather than hover over the meat. A SodaStream with a few handcrafted tonics and syrups turns those fifteen minutes into a small cocktail hour.
The one rule: cut across the grain
Meat is made of long muscle fibers running in one direction, which you can usually see as faint lines on the surface. Slicing across those fibers (perpendicular to them) leaves each slice with short fibers, which makes it tender to chew. Slicing along them leaves long, stringy fibers, and the same meat will seem tough.
Find the direction of the grain before you start, and check again as you go. In some cuts, like leg of lamb or brisket, the grain changes direction partway through.

Basic technique
- Position the roast so you’ll be cutting across the grain with your knife hand free. Remove any kitchen string.
- Steady it with the fork on top or to the side, away from where the blade will travel.
- Use long, smooth strokes. Let the length of the blade do the work. Sawing back and forth in short strokes tears the meat.
- Keep slices even. About 1/4 inch is a good default for beef and lamb; thinner for brisket and tough cuts; a bit thicker for tender pork loin and tenderloin.
- Move slices to the warm platter as you go, and pour any juice from the board over them.
How to carve the most common roasts
Bone-in beef rib roast (prime rib)
Stand the roast on its bones or lay it on its side. Run the knife along the curve of the rib bones to remove the whole boneless roast in one piece. Then lay it cut side down and slice across the grain. Separate the ribs and serve them on the side; some guests prize them.
Beef tenderloin and pork loin
These are the easiest. The grain runs crosswise, so simply slice straight across the length of the roast into medallions.
Leg of lamb
Hold the shank end (use a towel, it’s hot) with the meatier side up. Cut slices down to the bone, angling slightly away from you, then run the knife along the bone to release them. Turn the leg and repeat on the other side. For a boneless leg, remove the netting and slice across the grain, watching for where it changes direction.
Whole chicken or turkey
Poultry is easier if you take it apart before slicing.
- Remove the legs: cut through the skin between leg and body, pull the leg outward, and cut through the joint where it meets the body.
- Separate each drumstick from the thigh at the joint.
- Remove each breast in one piece by cutting down one side of the breastbone and following the rib cage with the tip of the knife.
- Lay the breast skin side up and slice crosswise into even pieces, so every slice has some skin.
- Remove the wings at the joint.
Carving a turkey in the kitchen and bringing a neatly arranged platter to the table is perfectly acceptable, and usually less stressful than carving at the table.
Carving at the table
If you’re carving in front of guests, set yourself up for success. Do the awkward parts, like removing bones or legs, in the kitchen first. Bring the roast out on a board with a towel underneath, along with a warm platter. Stand while you carve, ask guests how they like their portion, and serve the host or guest of honor first. For the rest of the meal, see our guide to table manners that actually matter.
Common mistakes
- A dull knife. It crushes and tears instead of slicing. Hone or sharpen before the meal, not during it.
- Skipping the rest. More juice ends up on the board and slices fall apart.
- Cutting with the grain. The most common reason good meat seems tough.
- Stabbing with the fork. Repeated piercing lets juice run out. Steady the meat instead.
- Carving everything at once. Slice what you’ll serve now; leftover roast keeps better in one piece.
- Leaving it out too long. Refrigerate leftovers within two hours of cooking.
If you enjoy cooking large cuts, you’ll find more on fire and technique in learning to grill, smoke and cook over fire, and on cookware in our cast iron guide.
Quick checklist
- Knife honed, board on a damp towel, platter warming.
- Roast checked with a thermometer, then rested under loose foil.
- String removed and grain direction identified.
- Bones removed first where possible.
- Long, smooth strokes across the grain, slices even.
- Juices poured over the platter, leftovers kept whole and refrigerated.
Frequently asked questions
What’s the difference between a carving knife and a chef’s knife?
A carving knife is longer and narrower, which makes long, even slices easier. A chef’s knife is wider and more versatile. If it’s sharp, a chef’s knife will carve most roasts well.
Can I carve a roast ahead of time?
You can, but sliced meat dries out and cools quickly. If you must, carve shortly before serving, arrange the slices on a warm platter, spoon over some juices and cover loosely with foil.
How do I find the grain on a dark, crusty roast?
Cut a small slice from one end and look at the cut face: the fibers will show as lines or dots. If you see long lines, rotate the roast and cut the other way.
Food safety guidance here follows general USDA recommendations; check current guidance if you’re unsure.
Updated October 2026. Some links on this site may be affiliate links; see our editorial policy.